Okay, so from last time – you now have your two sides put together.
Using brackets, connect the two sides with 2x2s. I made the hutch approximately 6′ long. You’ll want to cut 9 2x2s of this length (5’8″) Leave off the roof ones – we’ll get to those later.
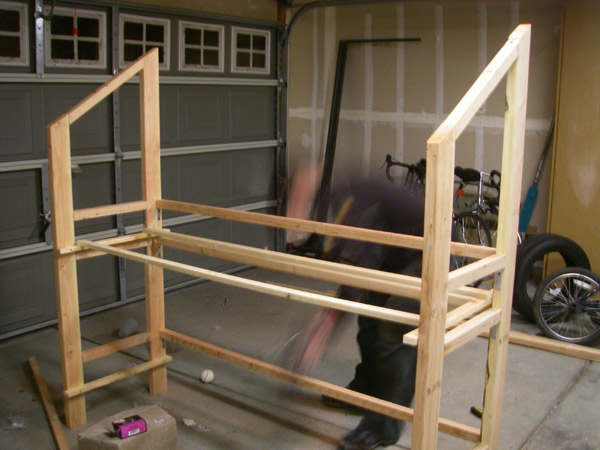
Starting to install poop tray bars as well...
In this photo you can see we’ve installed three of the front 2x2s. We’ve also installed two 1x2s on the top for the poop trays to rest on. These can be secured to the other 1×2 pieces with the 1 5/8″ screws.
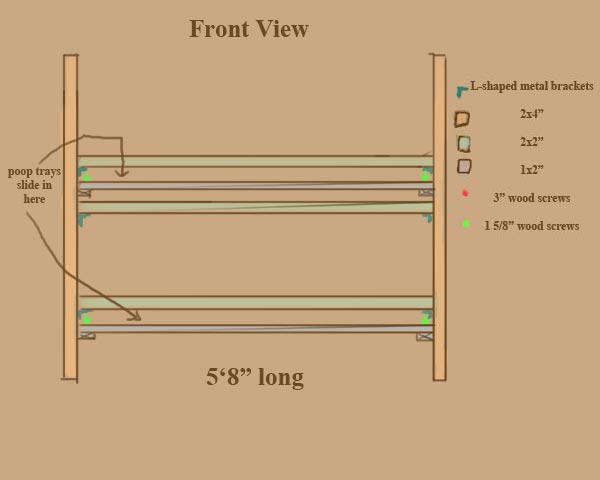
Feel free to drop me a line if you have any questions.
Here it is with more of it done. For the roof pieces, we tilted them at the same 30 degree angle – so one of the sides of the 2×2 is flush with the roof. Not the best way in the world to do roofing, but we’re housing quail, not people. We went in from the sides with the 1 5/8″ screws to secure the top pieces.
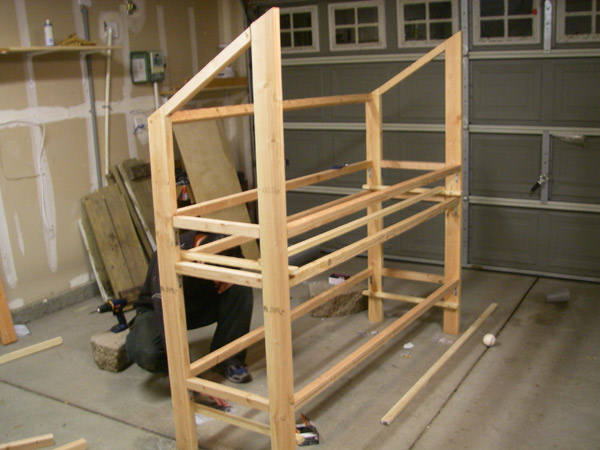
The hutch is starting to take shape...
Just a quick note – think of framing as your structure’s skeleton. These are the bones you’re going to hang your trimmings on.
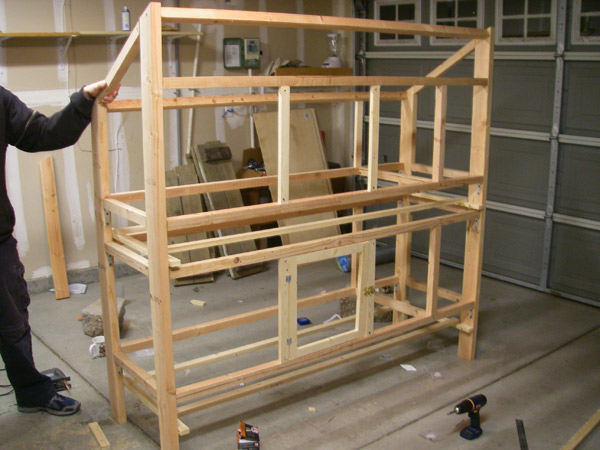
Framing the doors and the sheltered areas.
The 9th 2×2 – the odd one out – goes in the front to support the door framing. We used 2x2s to frame the sheltered area, and 1x2s to frame the two wire doors. We used 1 5/8″ screws at a diagonal from the front to secure the 1x2s for the door frames.
Secure the bottom part of the vertical shelter 2x2s with brackets. You just want to avoid running any screws into each other (secure the bottom 2x2s with 3″ screws).
Due to the weird angle of the roof bars, we used a 1×2 in the back for the shelter, and used a jigsaw to cut the angle. It’s a little jimmy-rigged, but it works.
Now time for the roof beams!
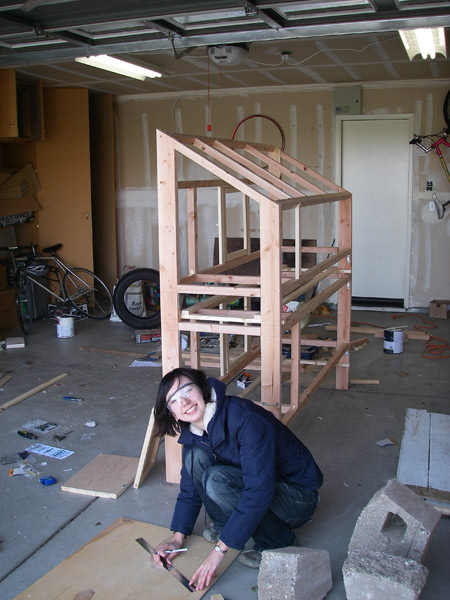
There's me, smiling like an idiot... =P
We put three roof beams in. One we put in at the same distance as the shelter beams, to provide the framing for the shelter plywood (you need to screw the plywood into something so it stays where you put it!). The other two we spaced evenly apart. We made the shelters 1′ wide.
Now for the fun part – putting on the trimmings.
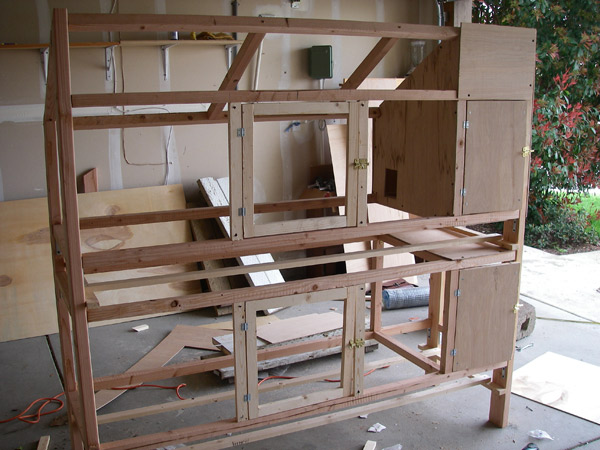
For the plywood we just used a measuring tape - calculations can get iffy.
Take your sheets of plywood and use a jigsaw to cut them to form the walls, floors, and roof (singluar for the bottom one) of your shelters. Use the 1/2″ screws to secure the plywood to your framing.
Part III – the finale – to follow!