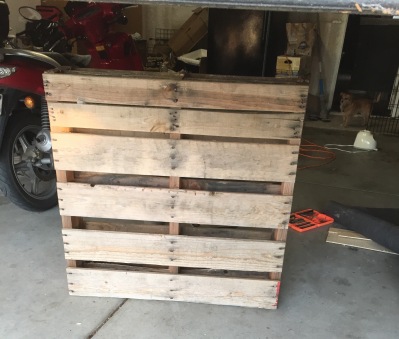
Earlier in the year I constructed a pallet garden bed. The goal was to get some garden space up off the ground and away from predators for the especially vulnerable crops – namely strawberries. Despite all out successes, we’ve never particularly flourished in the strawberry department. They’re a slug favorite and we’re pesticide shy. And in the high boom of summer harvesting we always manage to neglect this crop more than the others.
Our neighbor had two pallets in her backyard, so I acquired those with no effort whatsoever. While many people use one pallet, as you’ll see my project used two pallets that I sandwiched together. I’d hoped the depth would contribute to better water retention and maybe better root structure. And more sturdy. And higher off the ground. And I had two pallets, so…
Rain cloth
I lined the pallets with rain cloth (basically a durable garbage bag material that comes in rolled up sheet form). This would protect the wood from excess moisture and slow the rotting process. It is optional according to all the tutorials out there, so it’s up to you if you want to skip this step. It doesn’t drain per se, but I’m assuming the water will sink down and find a corner that’s not as well protected. Or I assume that the bed is deep enough that root rot won’t become a problem.
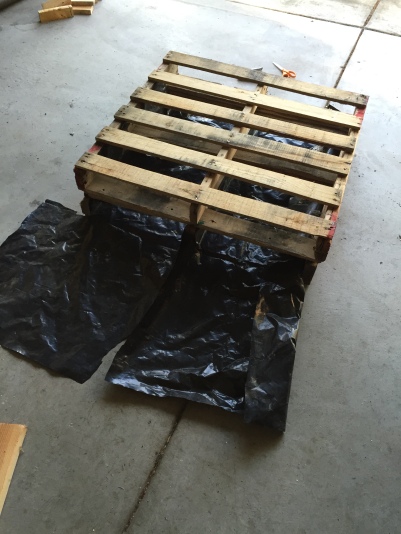
I cut and wrapped and stapled it in place. There’s really no one right way. You can go with more or less protection.
Landscape cloth.
I then lined the it with landscape cloth. This obviously holds the dirt in place, is durable and allows for drainage.
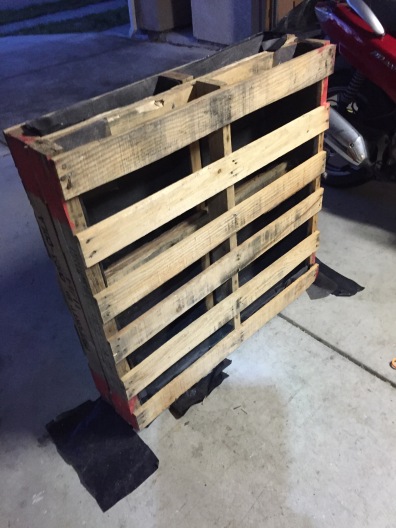
Here you can see how this is two pallets sandwiched together.
Board it up
Next I boarded up the back/bottom of the pallet. I used an old piece of furniture that the neighbors were throwing away. You see how this project keeps getting cheaper and cheaper?
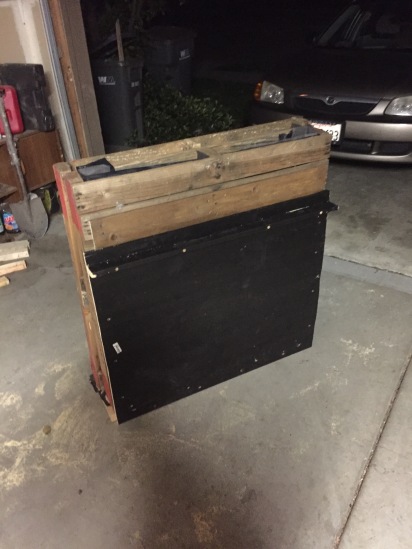
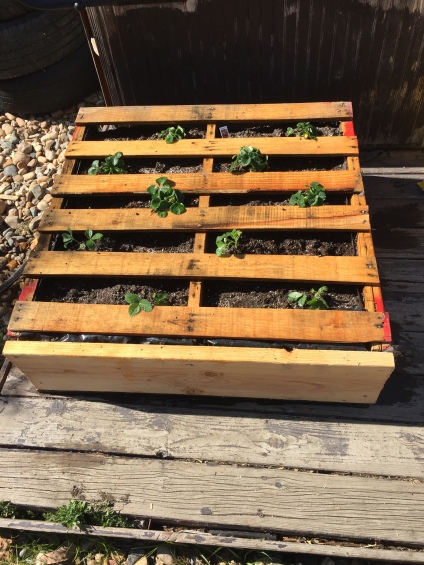
Finished product
It stands up really well on it’s own. Many posters create these types of beds with the intention of vertical gardening. I don’t really know how watering will work with that type of arrangement. Some say you have to keep an eye on the top crops because they will dry out first. And yes, some say it is a water hungry endeavor.
Loading
I know this is so unlike us, but I bought potting soil to fill the bed. It has the drainage and the weight that we needed, at least for our first trial run. I will see about using home-grown compost in the future. In this shot you can see that I also boarded up the bottom.
And how has this recycling garden romp worked out for us you ask?
Well, it didn’t.
Not for the strawberries. The high heat required near daily watering, and the strawberries just didn’t take root quickly enough and deeply enough to stay hydrated. Daily watering became a chore, and was considerably inefficient and, in my opinion, a little wasteful. Pots take more water than ground plants, and the pallet bed was more pot than anything. It was such an arid disaster by August and I was so ashamed, I forgot to take a picture.
Perhaps if I’d started the project sooner and gotten the strawberries in the bed early they’d have taken root and been more successful. We may try and find out next year.
HOWEVER
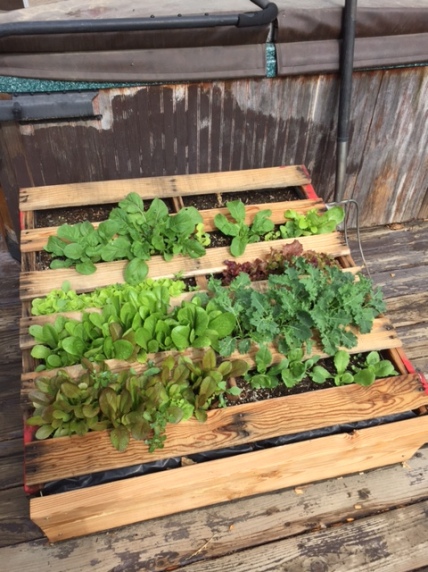
Late summer/early fall I cast lettuce seeds in between the boards. The cooler weather allowed the dirt to retain moisture, and so far things are booming. Picture from just the other day:
I think we will get much use out of this pallet bet still. Maybe less in June, July and August (though I think flowers will do just fine those months), but for all the other months this has been a great way to organically protect the vegetables. I imagine a snail or two will find its way only the bed, but Snail, I will find you! And you will be evicted!
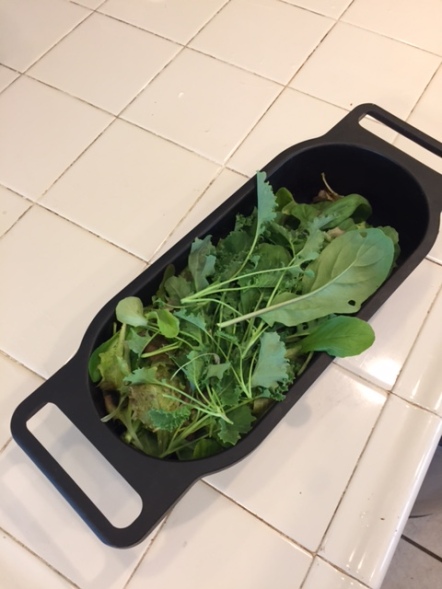
First mini harvest from this bed was to thin out the crop
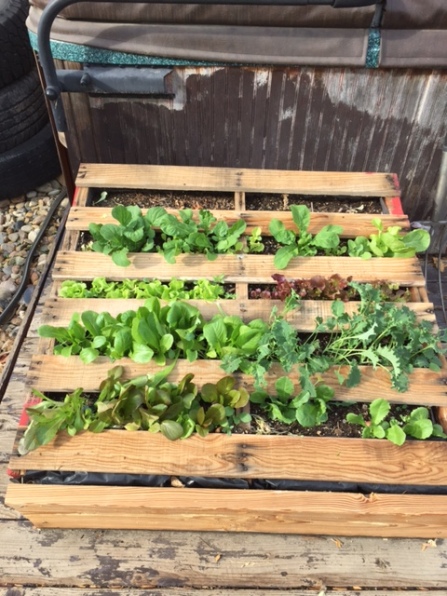
And the bed still looked plenty full afterward.


Pingback: Fall and Winter planting | Suburban Sustainability