What do you do when you’ve just had a wedding, and your garage is filled with cardboard and packing materials?
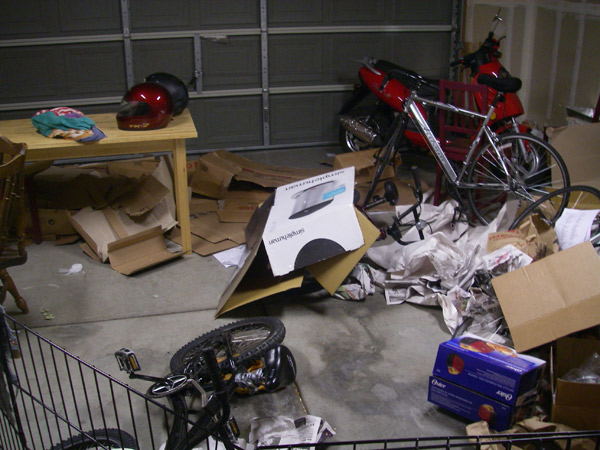
YIKES!
Why, build a solar oven, of course! I used the instructions/plans from The “Easy Lid” Cooker and “Minimum” Solar Box Cooker with one or two modifications.
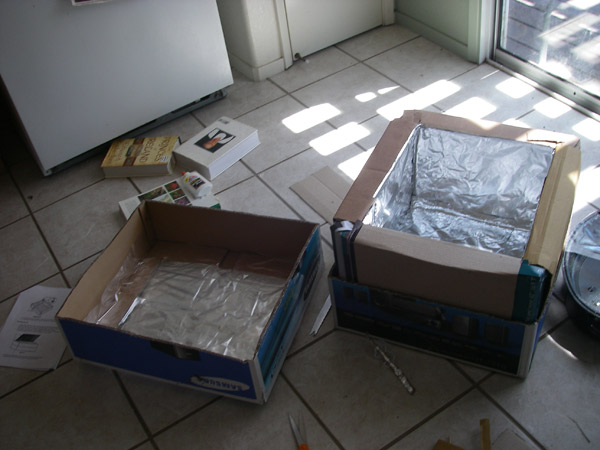
Find two boxes, one slightly smaller than the other. My smaller one didn’t have flaps, hence the modifications, but ideally yours would. You’ll want at least a 1/2″ margin on all sides. Check to see if you can fit the pots you plan to use for cooking in the smaller box!
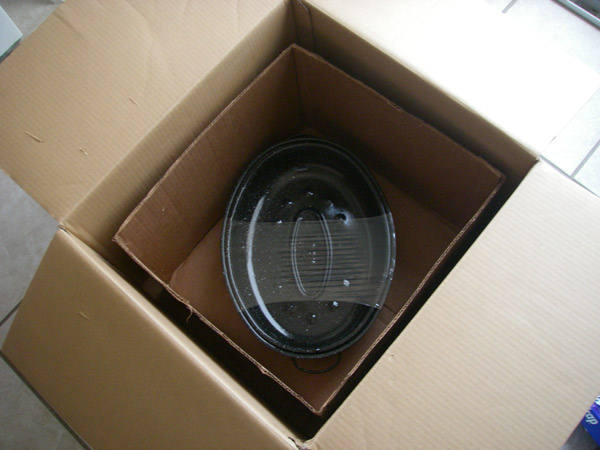
My two boxes for solar oven use!
MATERIALS:
-2 boxes, 1 slightly larger than the other, plus some extra pieces of cardboard – FREE
-a pair of scissors or a serrated knife (for cutting the cardboard) – FREE
-Elmer’s white glue, non-toxic and safe for use in a solar oven! – ?? I had it lying around, let’s assume $3
-lots of aluminum foil – $2
-turkey-sized oven bags – $2
-a wire coat hanger – FREE
-newspaper or newsprint – FREE
-black spray paint, non-toxic when dry – $3
TOTAL COST = $10
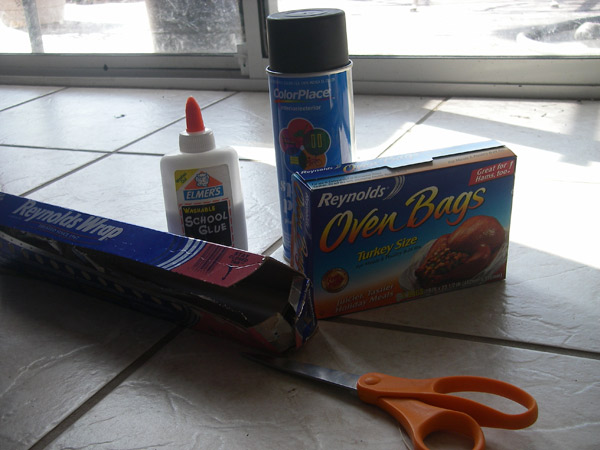
Your basic supplies
First step – cut the larger box in half. Glue the hanging flaps down. Take the side you intend as your bottom, and line it with a big piece of cardboard. This is what is going to allow the top part of your box to act as a lid.
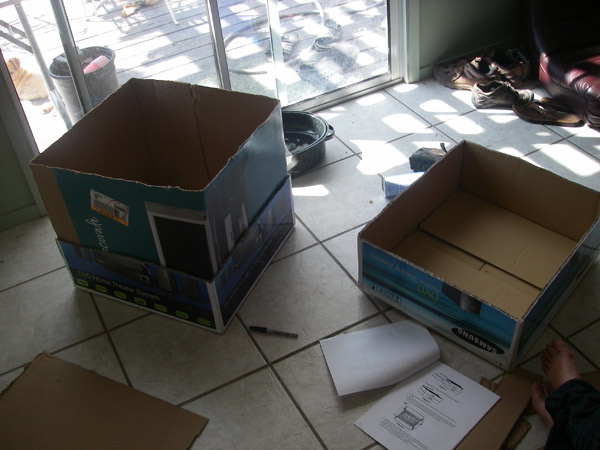
The lining should be tall, taller than the other half of your box
Take your lid, and hold it up to the liner. Cut the liner down to the height of your lid, leaving the four corners up to form tabs.
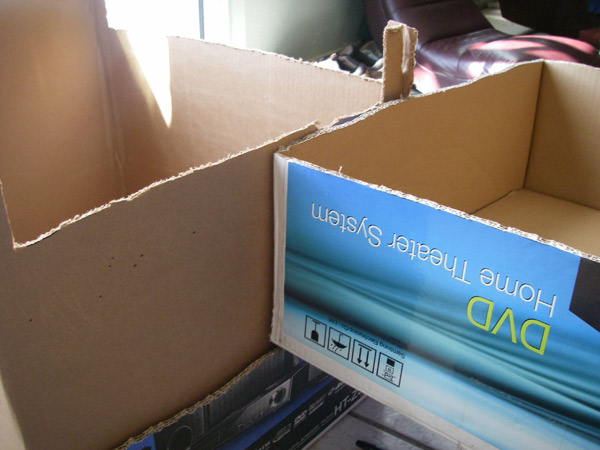
Like so! You can see the corner I left up as a tab
Using your Elmer’s Glue, line the inside of the outer box with foil – all four walls and the floor.
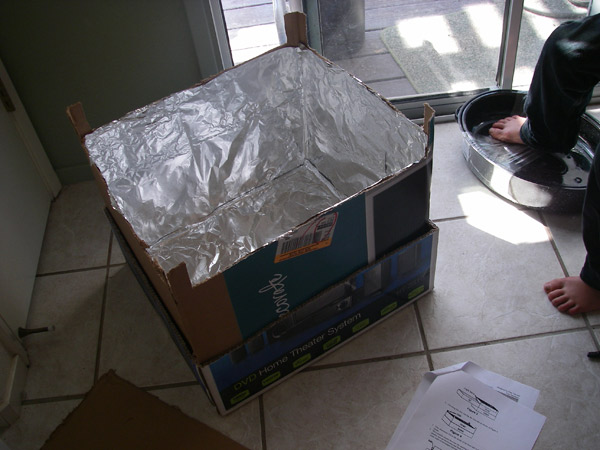
Shiny! Better view of the tabs too
Now plunk your inner box in the outer box, and line the space in between with crumpled pieces of newsprint or newspaper. This is the insulation for your oven.
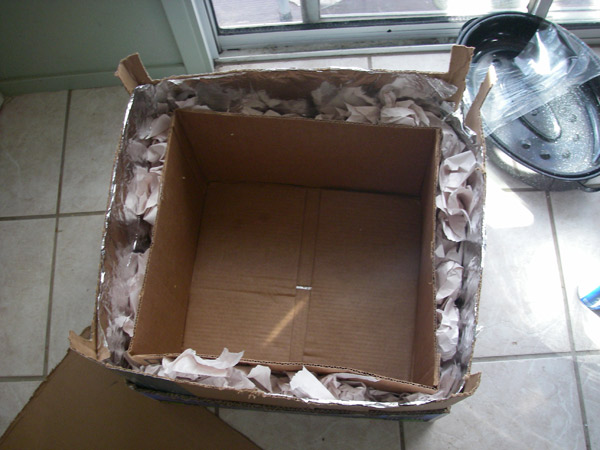
We overstuffed ours a little, but we were able to squish it all together later
My outer box was a little too tall for my outer box, so I cut my outer box down to match the inner box. And since my inner box didn’t have flaps to fold over, I took spare pieces of cardboard, glued them to the inside of the inner box, folded the over the insulation, and tucked the remainder in the space between the outer box and the liner. Didja get that? If not, here’s a picture =)
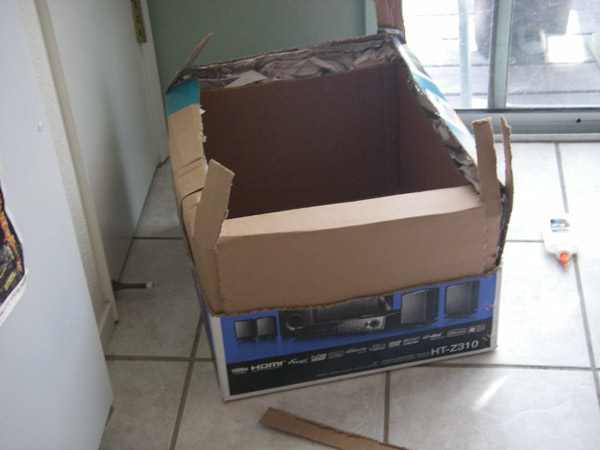
I scored the cardboard with sharp scissors so it would fold in a precise manner
As for the tabs, I found it easiest to tuck them under the flaps. Cutting them in half down the middle (from the top) helped me maintain the corners. I wanted the top to fit snugly. I think I missed one tab and ended up gluing it on the top. Oh well! I weighed everything down with a couple of books while I was gluing things, to get it to better stay in place.
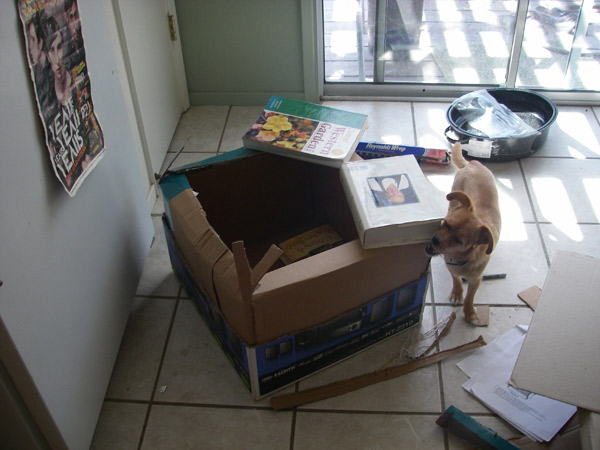
Devin shows me exactly what she thinks of my methods...
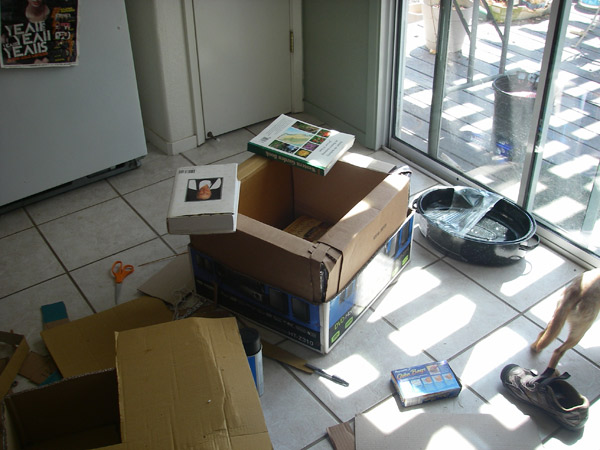
Done!
Line the inside of the inner box with aluminum foil.
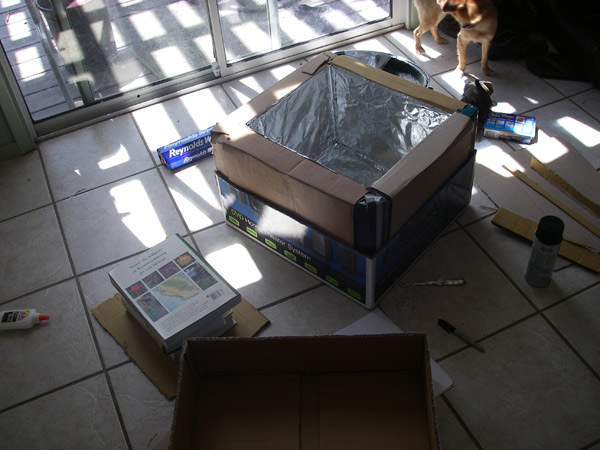
Starting to look (sort of) like an oven...
Make sure your lid still fits, in case you were over-zealous with the paper-packing. A snug fit is good – less heat will escape. Since I cut down my liner to fit my inner box, I had to cut down my lid as well. You don’t want any space between your lid and the top of your oven.
Measure the thickness of your walls. Draw a rectangle on the lid that matches the dimensions of the open part of your oven. Cut it on three sides and score the last side with your scissors/knife. This will be your reflector.
Glue one of the turkey oven bags shut (prevents moisture from accumulating inside). Glue this to the underside of your lid, over the opening. Line the reflector part of your lid with aluminum foil (just on the side facing the oven).
It should look like this
You’re almost done. Now to make your drip pan. Take a piece of cardboard that will fit inside your oven, flat on the bottom. Cover it in aluminum foil. Spray paint it black.
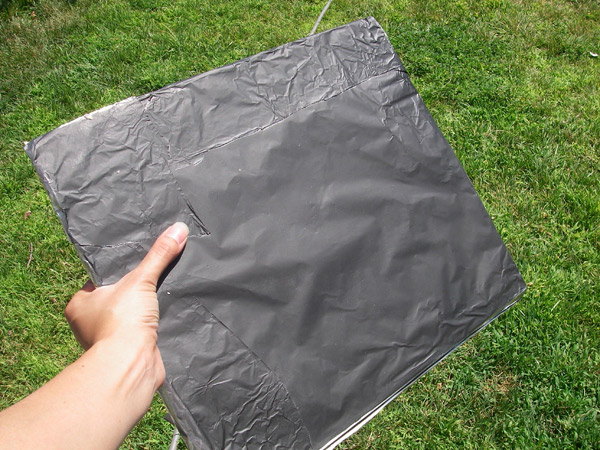
Fancy fancy drip pan!
Cut a piece off of your wire hanger, and use this to prop up the reflector. The ends of the wire can go into the corrugations in the cardboard.
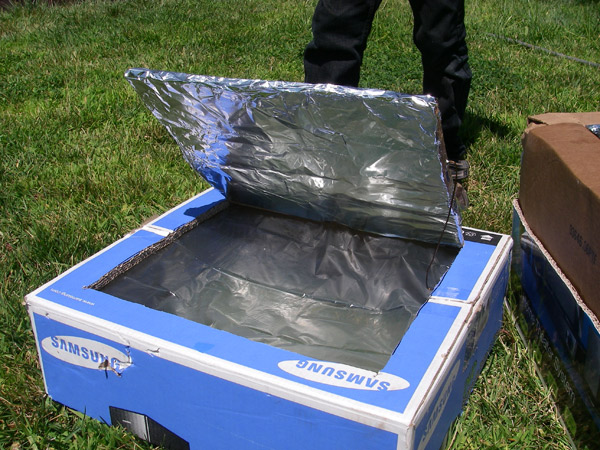
I ended up propping mine up higher than this to get more reflection
Put the drip pan in the bottom, put the lid on, face the reflector towards the sun, and you’re ready to cook! Of course…don’t forget the pot with the food in it.
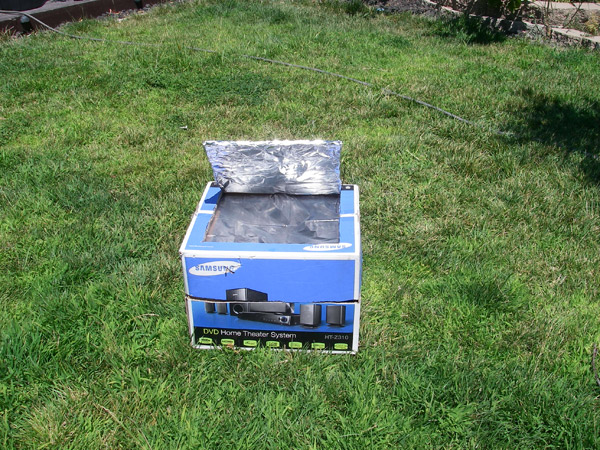
Mmmm...beef stew...
I cooked some beef stew. The oven DOES work, a fact I am very excited about! It will get to a temperature of about 300 degrees. Food inside does not require stirring and will not burn. It works something like a slow cooker, so you can pop food in it in the morning, and come home from work to a meal. Prime cooking hours are between 12 and 2 (or so I’ve read).
Best of all? Cooking in a solar oven takes no power and will not heat up the house! Make those hot summer months work FOR you.
TIME INVESTMENT: 3 hours
Just so you know, we’re expecting more quail babies later this week!
In a quick aside, I’ve installed a hummingbird feeder in our yard. Not only will they help pollinate our flowers, but they are awfully fun to watch!
