Project bookshelf was inspired as books began to clutter high against the walls. When you trip on one and fold the cover page in half you know your life is a literary mess. A bookshelf at Ikea is $80 minimum for the size we wanted, and that’s for particle board, laminated paneling, and no love whatsoever. And to elaborate on this last point, we weren’t just interested in saving money. We wanted something with style, originality, and something that exuded the real beauty of natural wood, charming blemishes and all. Furthermore, there’s something exceptional about owning and using something self-built, of high quality, that is going to last a very long time.
If you run a search you’ll see that pallet bookshelves are all the rage, and there is no end to creative construction.
I wish I could make this post more instructional, but I didn’t take enough photographs (something I’ll try to correct in the future). And I don’t want to boggle you with convoluted descriptive text. But I do have the basics in place.
Tools:
-sawzall (optional? We borrowed from a neighbor)
-power drill (already owned)
-chop saw (we borrowed one from a different neighbor)
-sander (purchased for this project, $35)
-measuring tape
-level
-wood screws
-stain
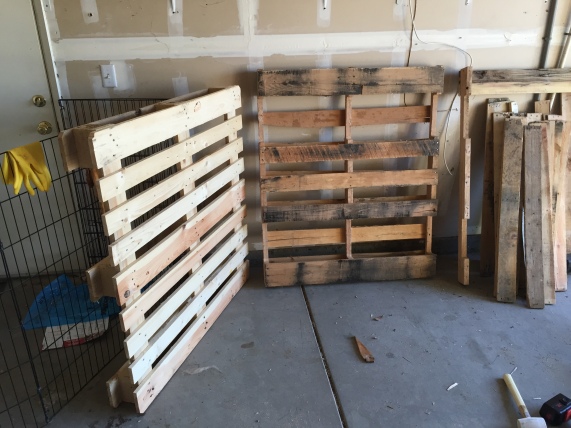
Getting the pallet wood – Go to small businesses – large businesses will tend to have a system in place for recycling pallets. Small businesses often don’t, and will be more than happy to let you take them of their hands. We picked up ours at a brewing supply store.
Taking the pallets apart – This isn’t so easy, unfortunately. In fact, very little about this particular project was easy. So if you’re not handy and/or your frustration threshold is low then this may be the point where you should stop.
Deconstructing pallets is made much easier with a sawzall. Rather than prying, hammering, and breaking wood, saw through the nails. Nails are soft metal and relatively easy to cut through. Here’s the tutorial I followed.
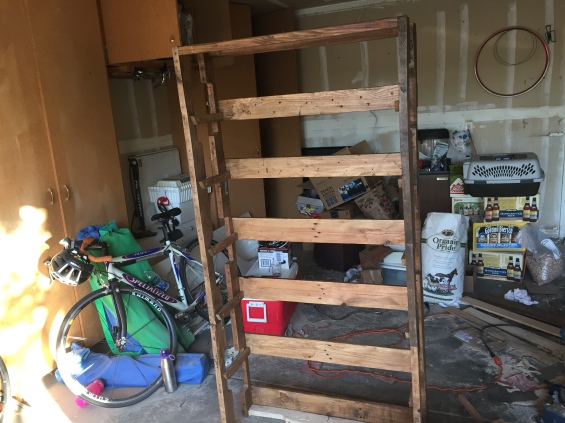
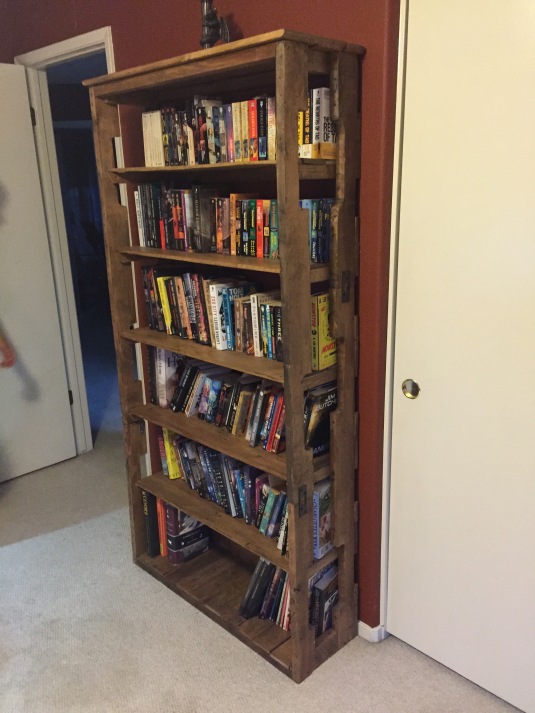
Selecting/creating a design – This is where things got a little tricky. We knew we didn’t want to close off a room by installing a huge wooden block in it. An open design was far trickier to pull off, but ultimately more rewarding. We used the pallet’s center support beams (“C” shaped), and faced them inward toward each other. Furring strips hold them together, and double as the shelving supports.
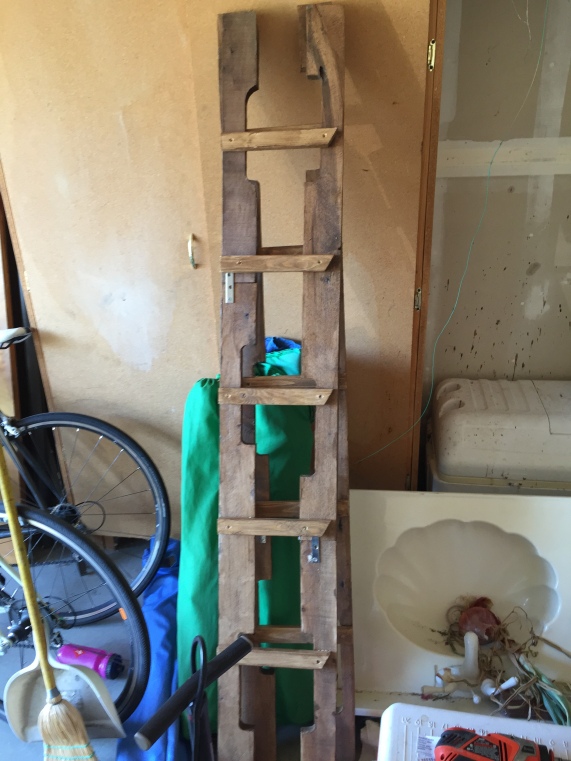
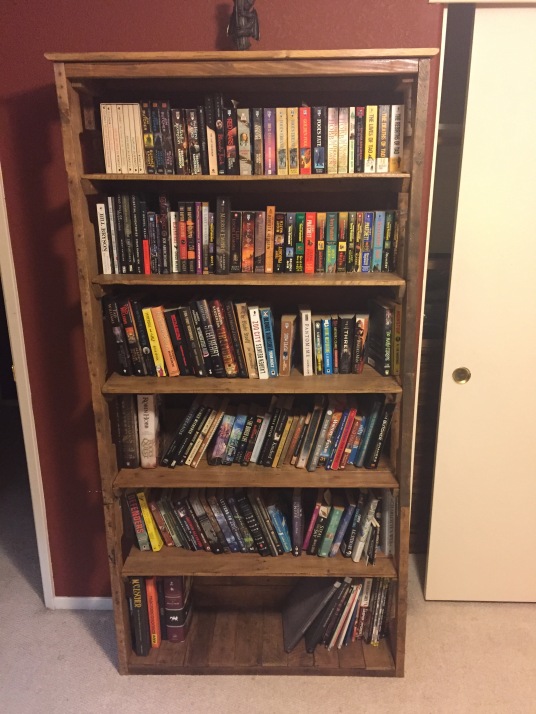
one side of the bookshelf.
I know the lighting could be better. Sorry!
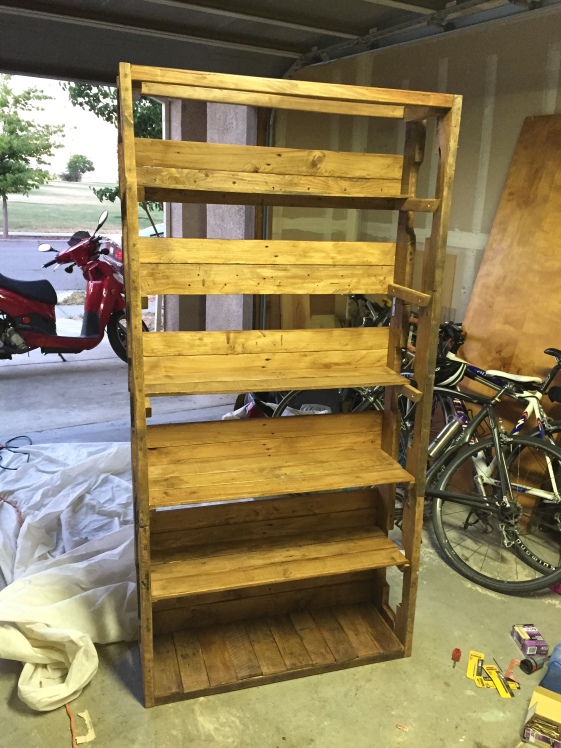
On dimensions – we found that bookshelves are about 11″ deep, even with the width and height being variable. Our bookshelf is 3′ wide, 6′ tall, and 11″ deep.
On shelving – we also found that bookshelves are not necessarily evenly spaced, and that, if anything, shelves are larger on the bottom and smaller going towards the top. We followed suit with this pattern, and our lower shelf fits oversized books, while the top shelf is best suited for pocket books.
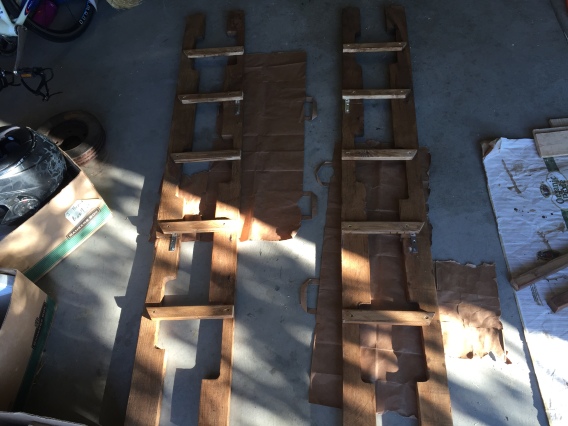
Sanding the pieces – Before screwing everything together we sanded each piece one at a time, first with a fine sandpaper, and again with an extra fine sandpaper. An electric sander is $20-$60, and because we’ve used it since this project it was worth the investment.
Staining the pieces – also before screwing anything together. We picked a tint that allowed the grain to show through. Buttered Rum. Best choice we made this year.
On (finally) screwing things together – we created countersink holes for every single screw, which serves to hide the screw and generally make the final product look nicer. This professional diagram conceptually shows you how it works.

But we didn’t use a special tool for this. We wrapped duct tape around a larger drill bit. Like this:
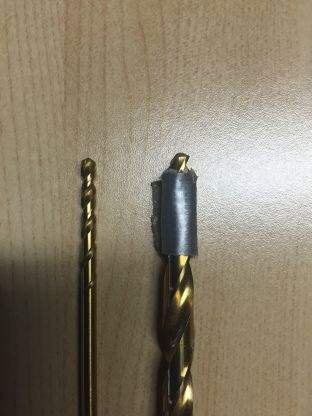
The larger drill bit is used to create the slightly larger hole to “sink” the screw head.
Frame – The back frame is going to Impact how sturdy and how straight the entire bookshelf is. We used a level all along the way to ensure it was as straight as possible. It was still a little off, because pallet wood, but imperfections are all part of the joy of recycling.
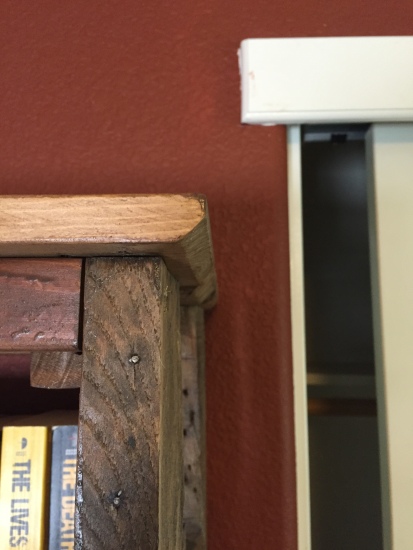
Beveling the top – So as to avoid being completely square, we beveled the top. We did this by cutting the piece at a 45 degree angle, and then cutting halfway through the triangle that was creating by the 45 degree cut.
Shelves – all the shelves on this bookshelf are free resting and removable. Here we learned to appreciate the merits of production line assembly – cutting, sanding, and staining. Because our frame is “charmingly” bent in places, the boards didn’t always fit, so don’t feel bad if that happens to you. You may have to shave a few millimeters off a shelf to make it fit on a particular row.
Again, this project wasn’t particularly easy, but it was very rewarding. We are very happy with the way it looks, and looking back, we would gladly do it again.
As you can see, the time to build another is nigh…
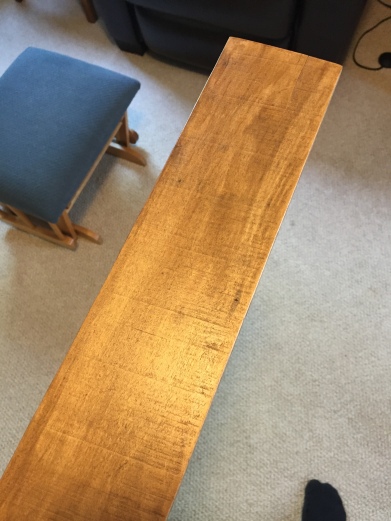
As a bonus, we got these tables absolutely free. The finish was in poor condition (again, I have GOT to get better with the before pictures). But because we invested in a sander and had leftover stain, we now have matching end tables. It didn’t take an hour to finish these.
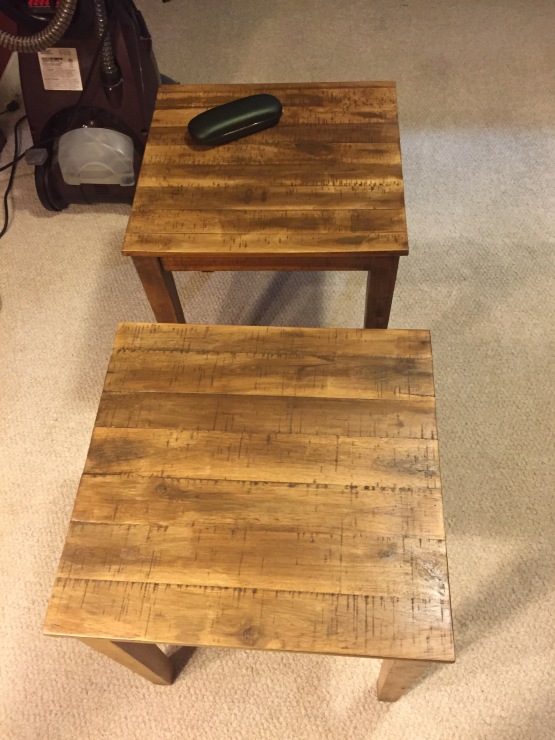
That rustic Pottery Barn look, but up close it doesn’t have that phony production feel.
Cheers,
-J


